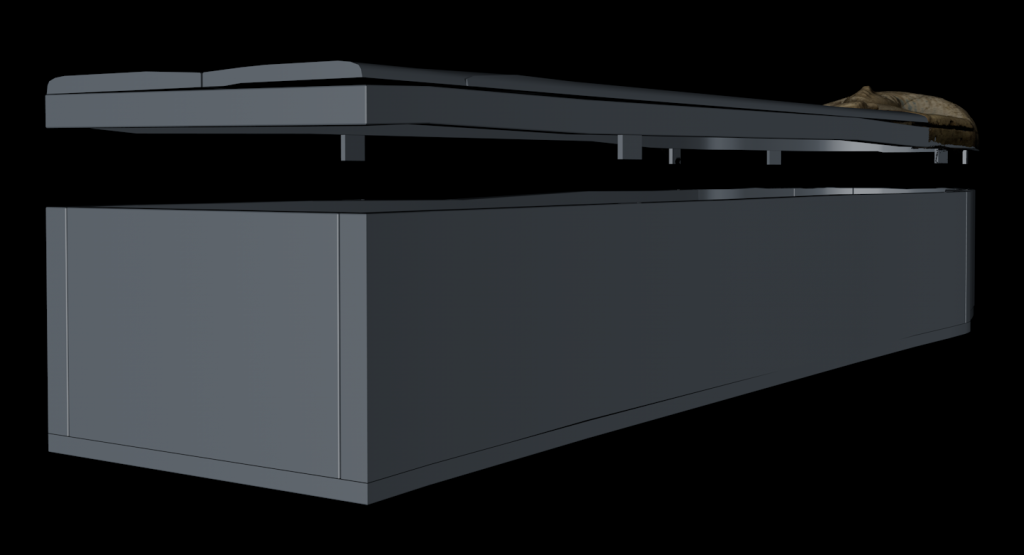
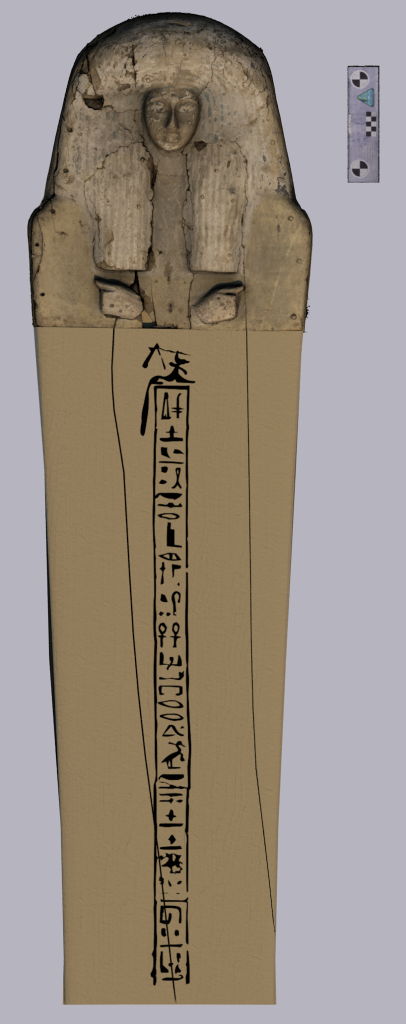
For the Module Assessment ‘3D Documentation and Modelling’ as part of the course of study ‘Archaeoinformatics’ at the University of Cologne, I was tasked with the following assignments:
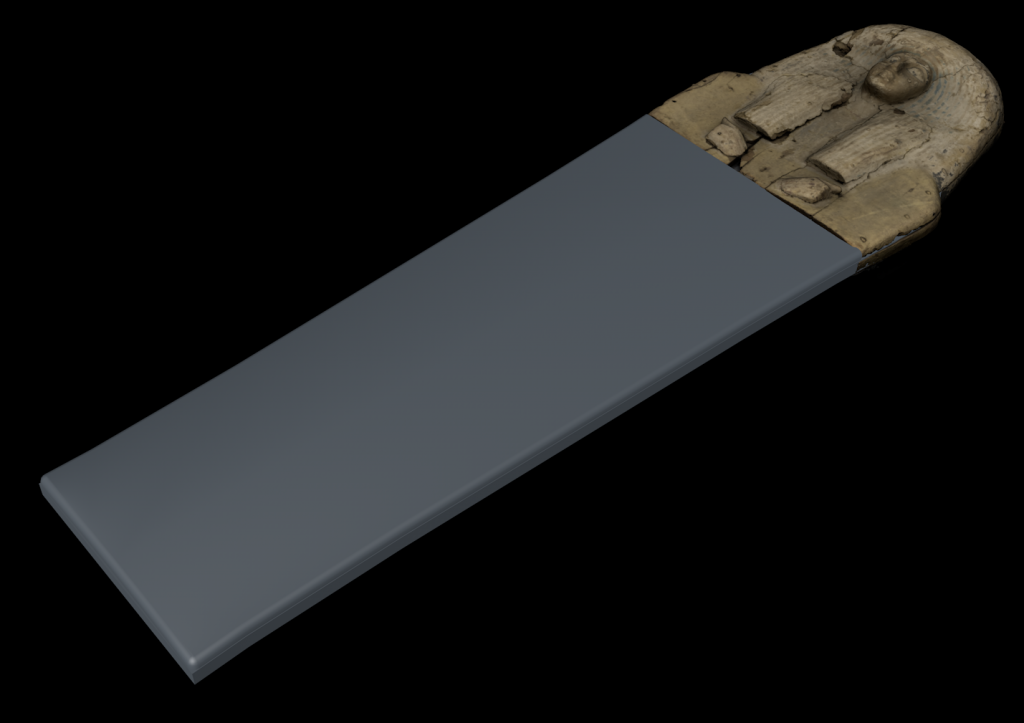
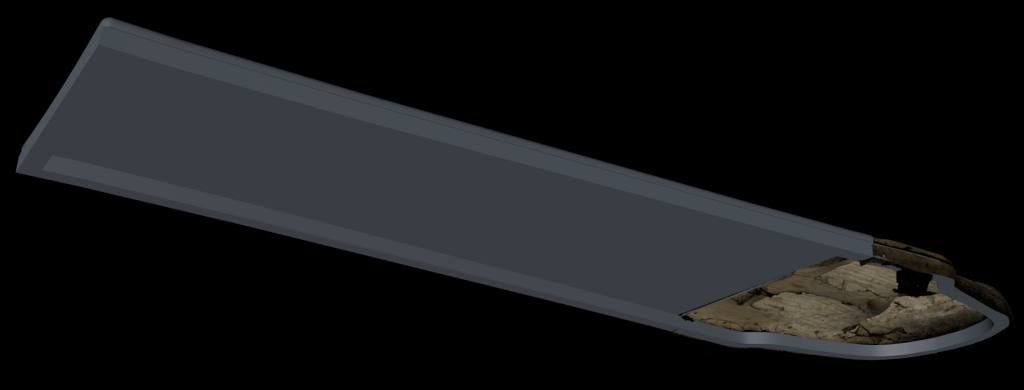
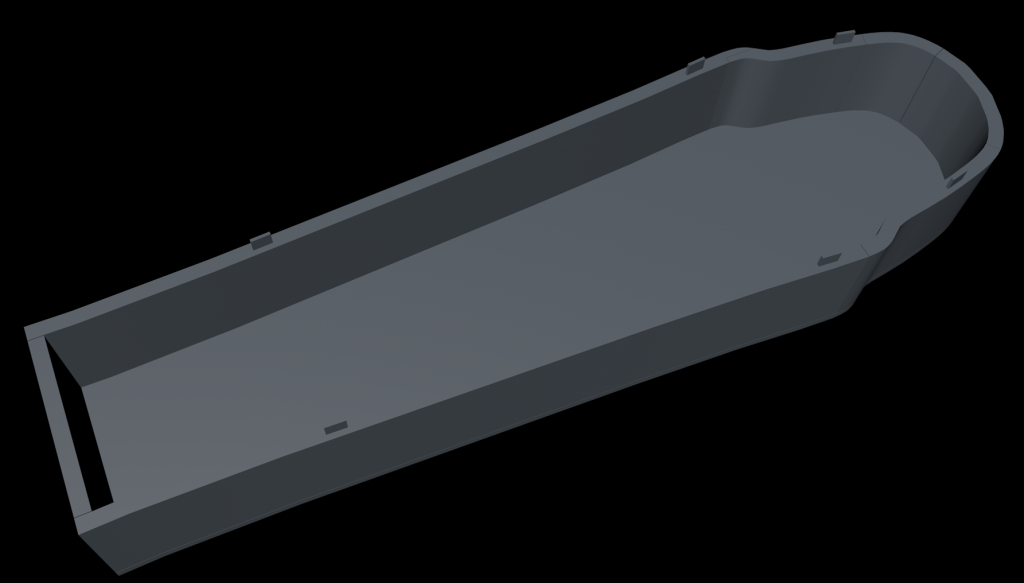
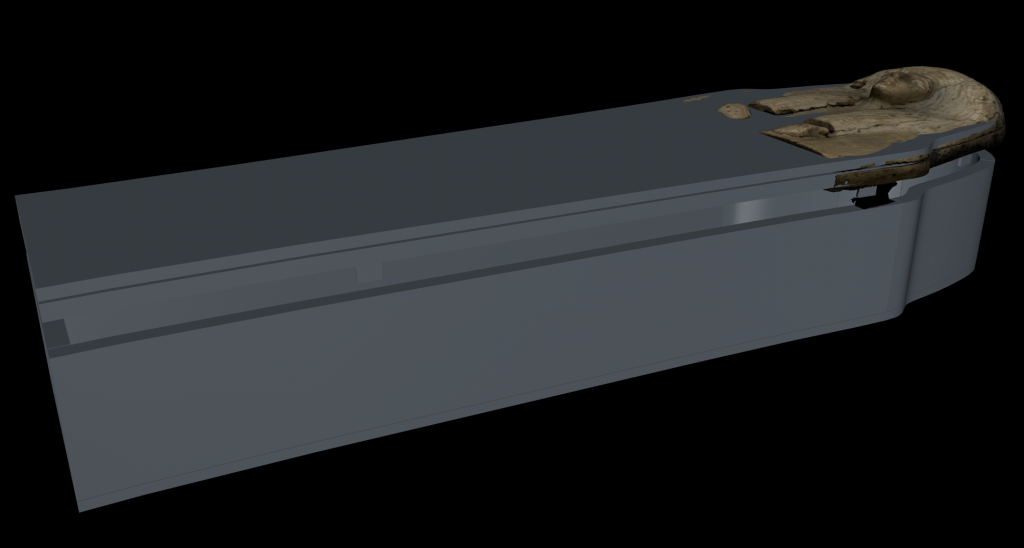
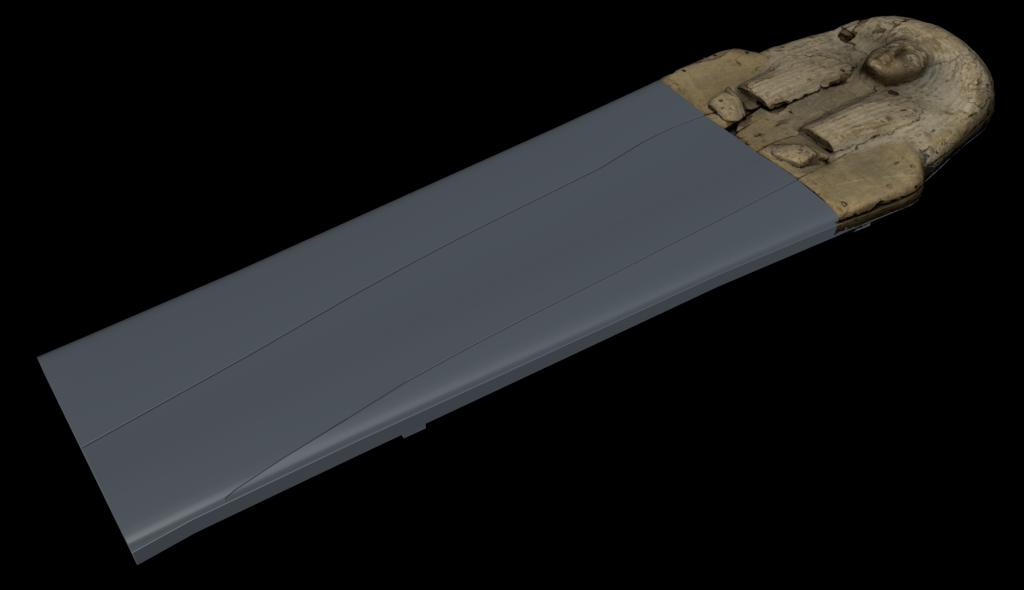
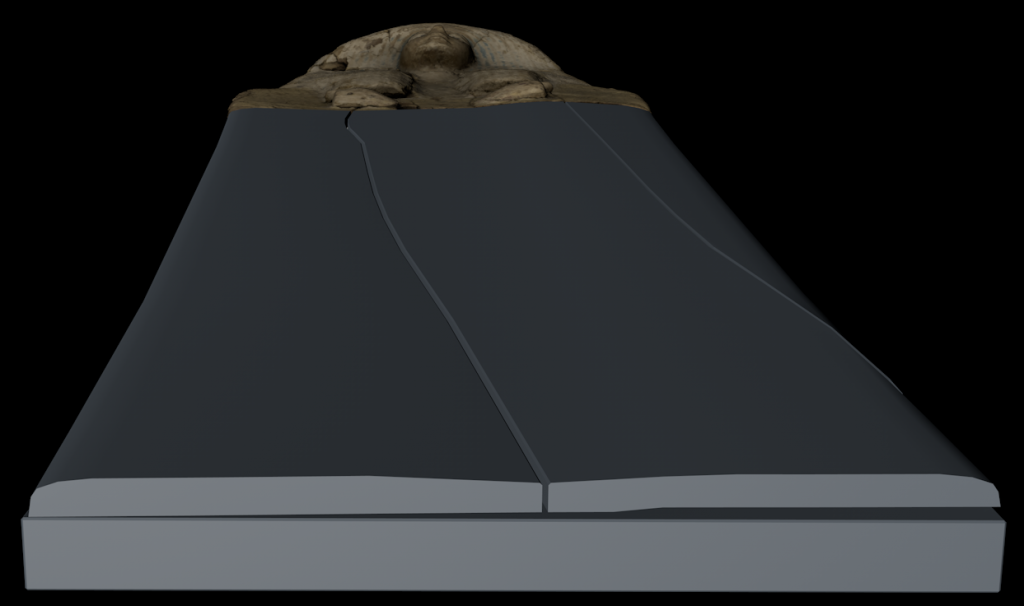
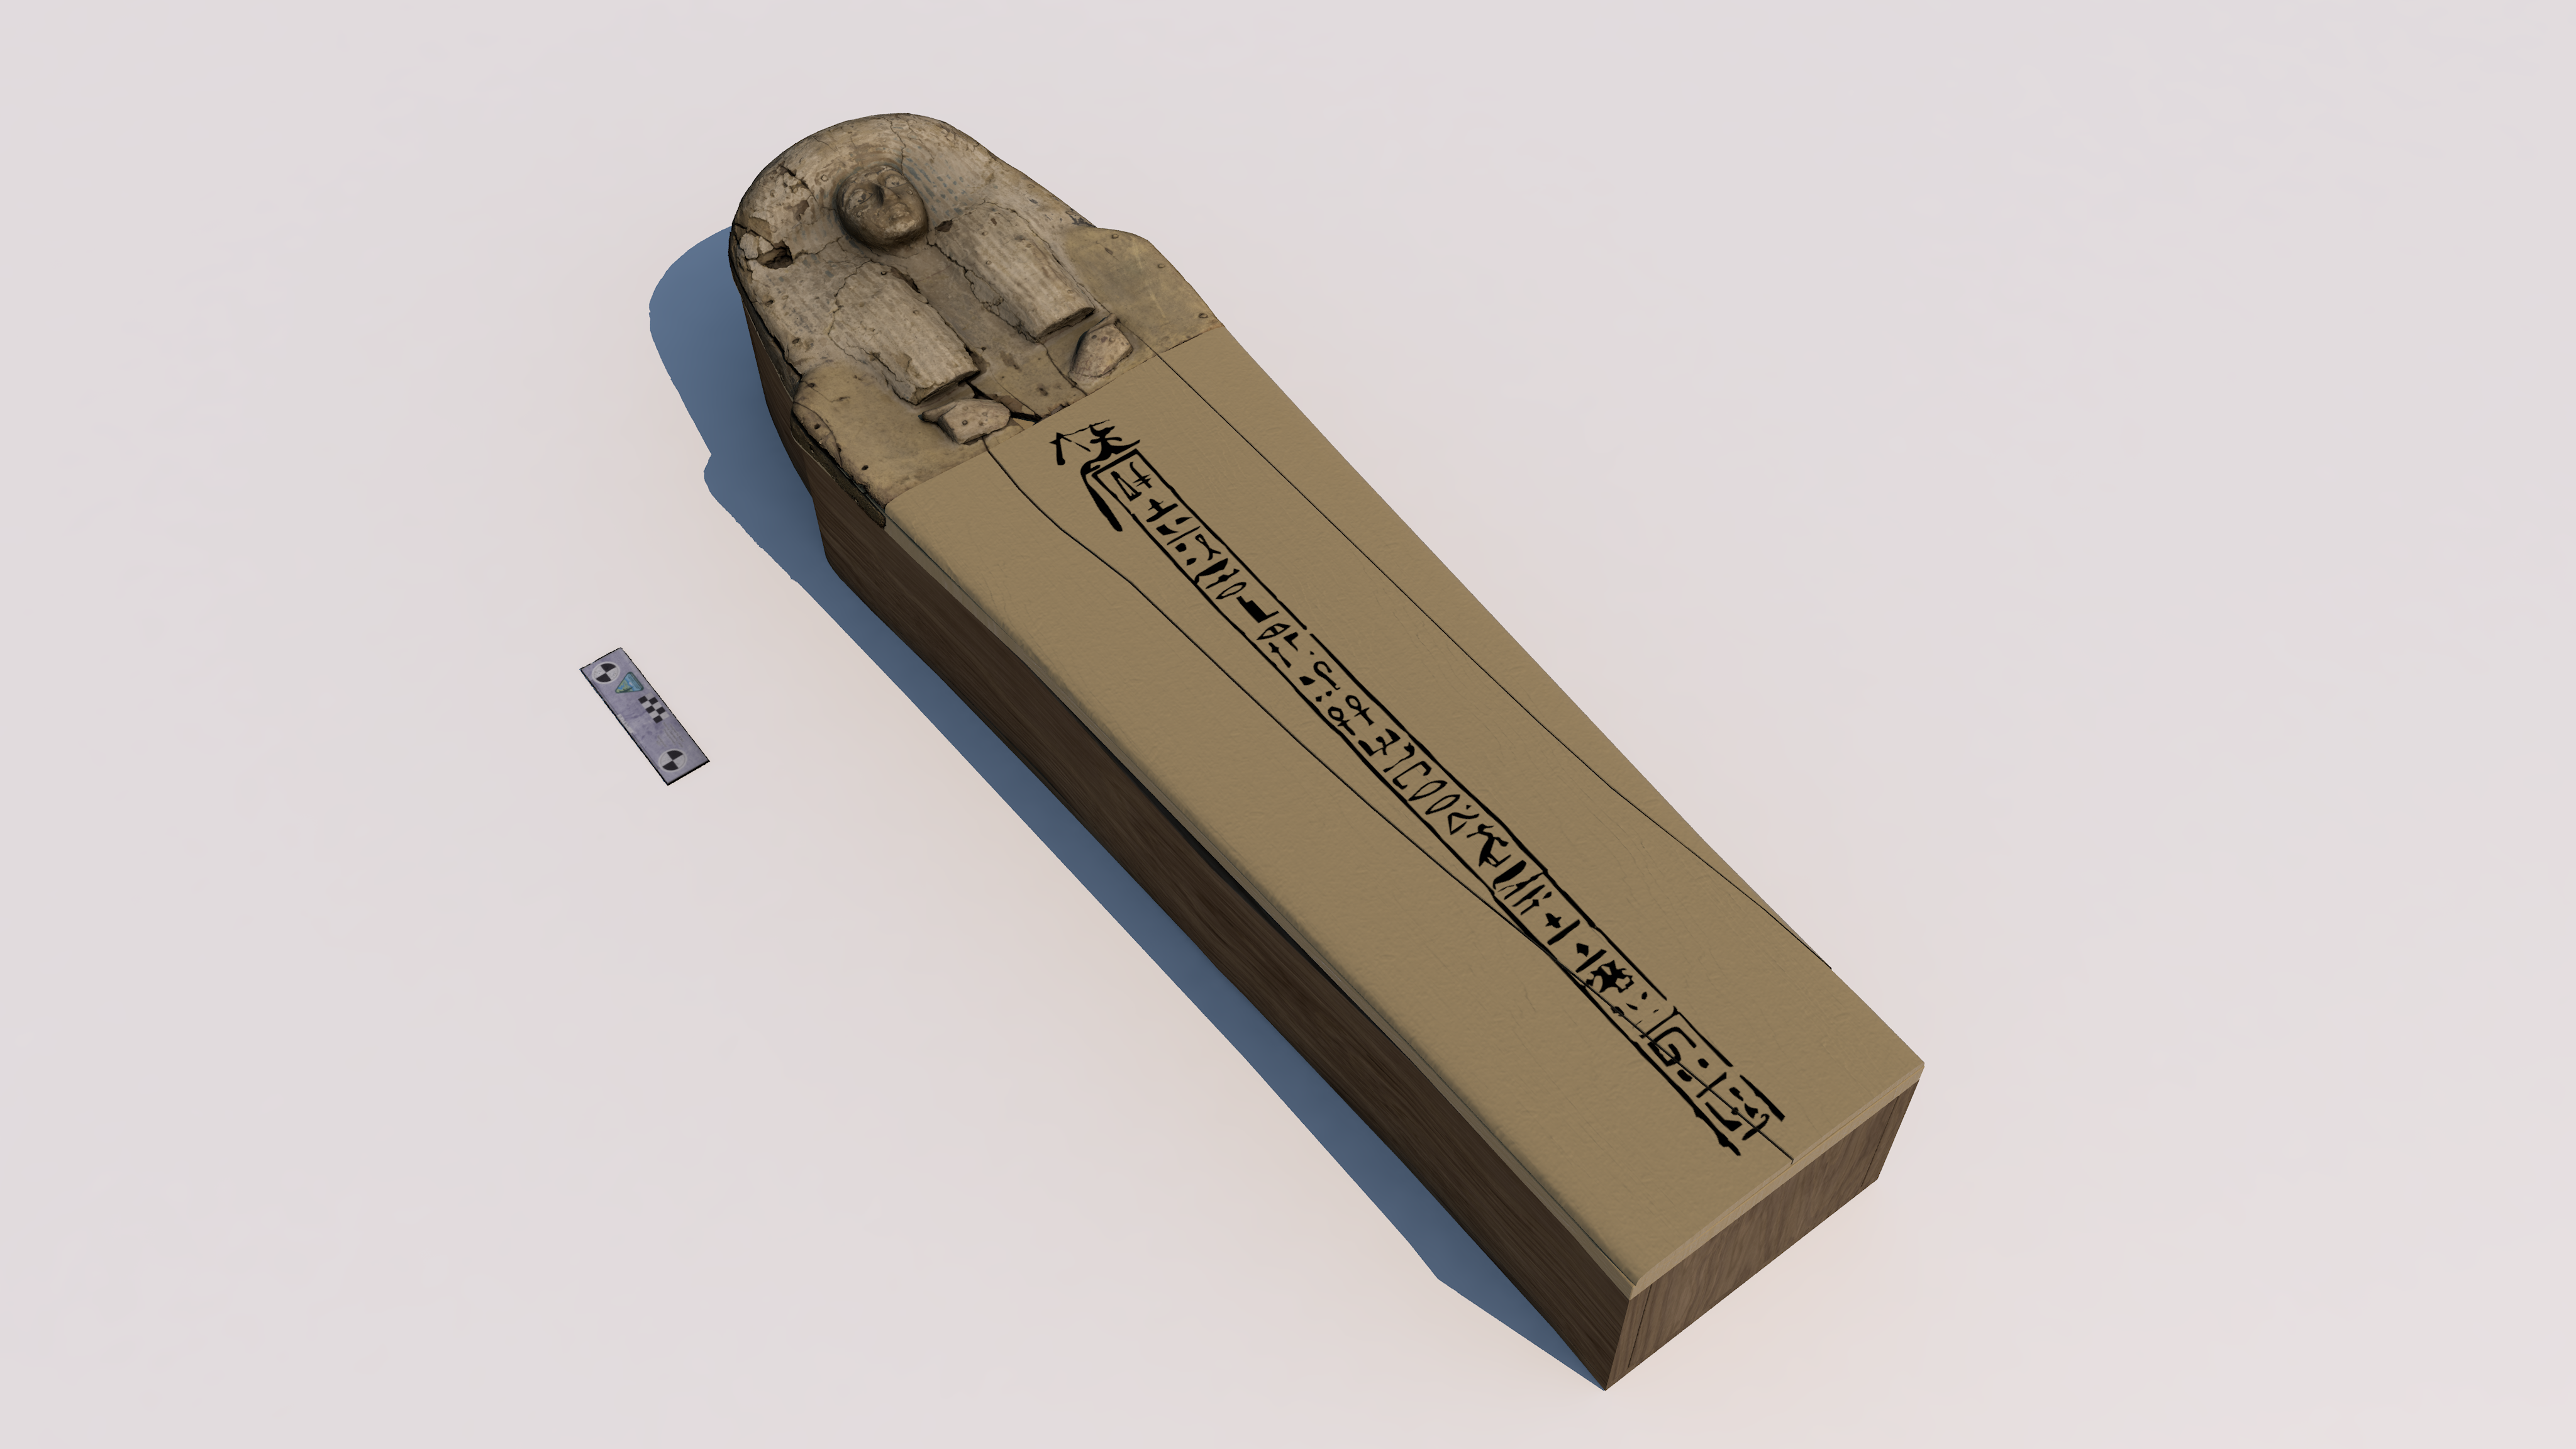
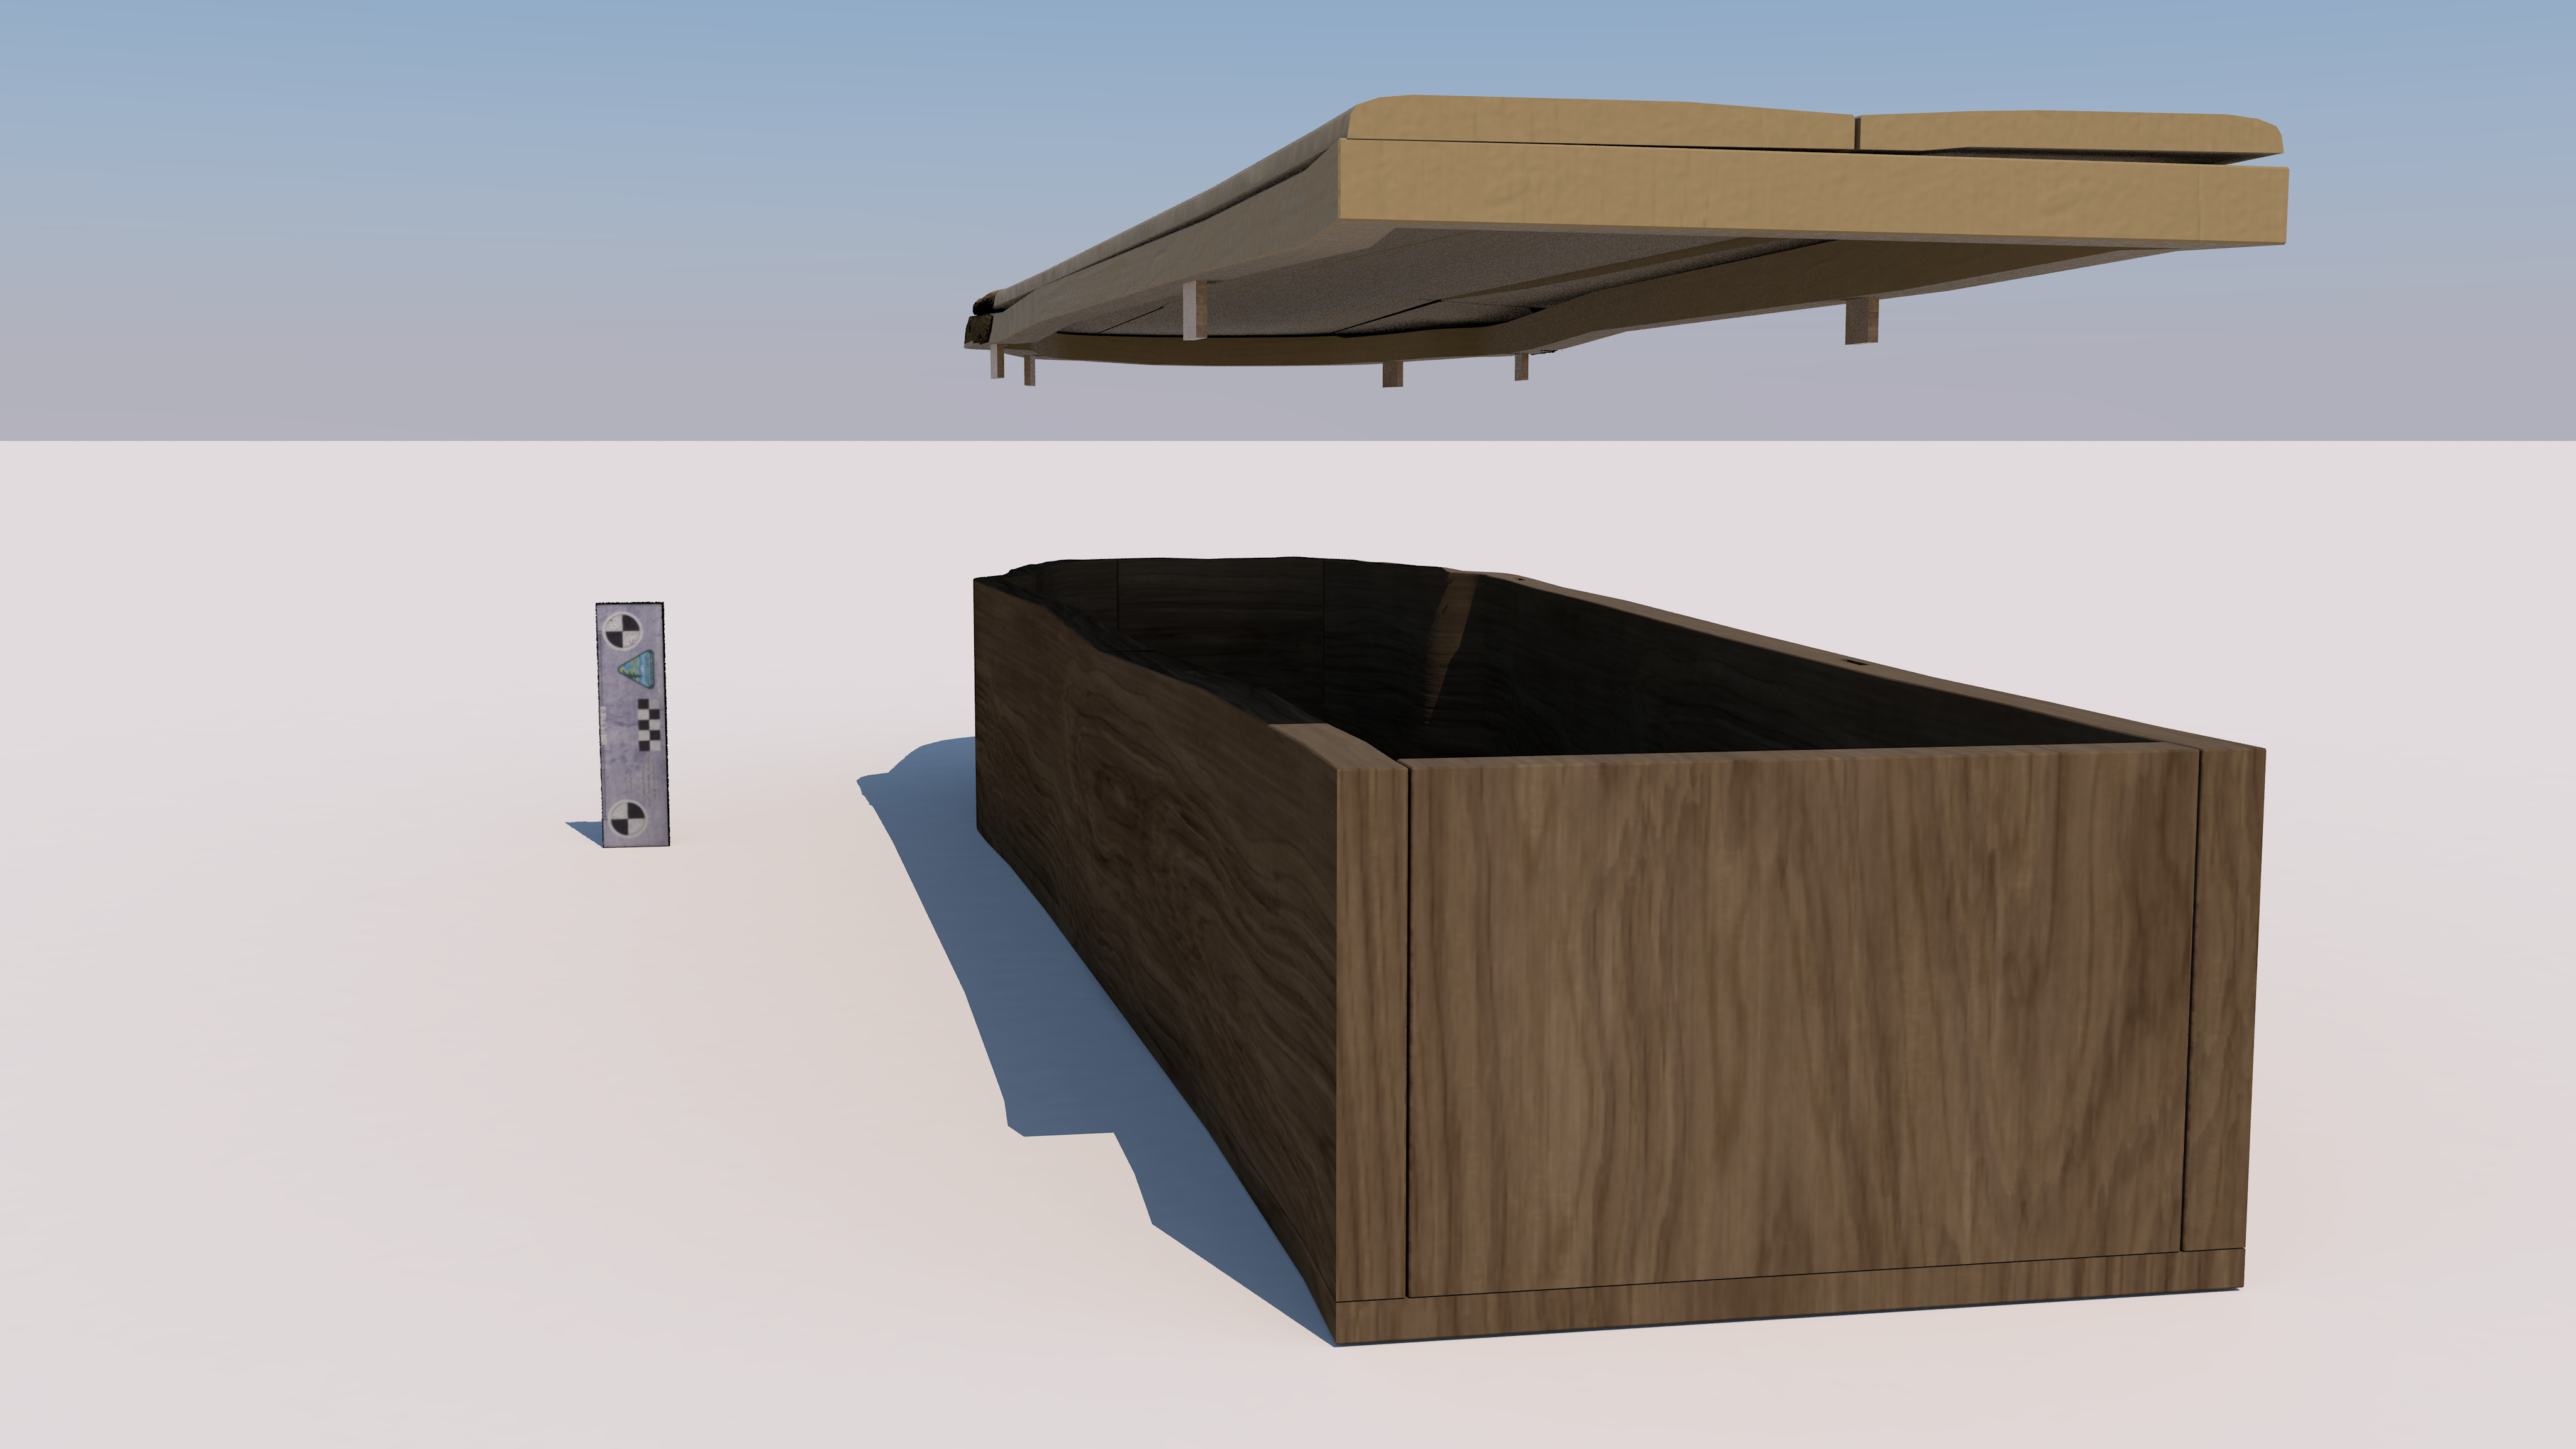
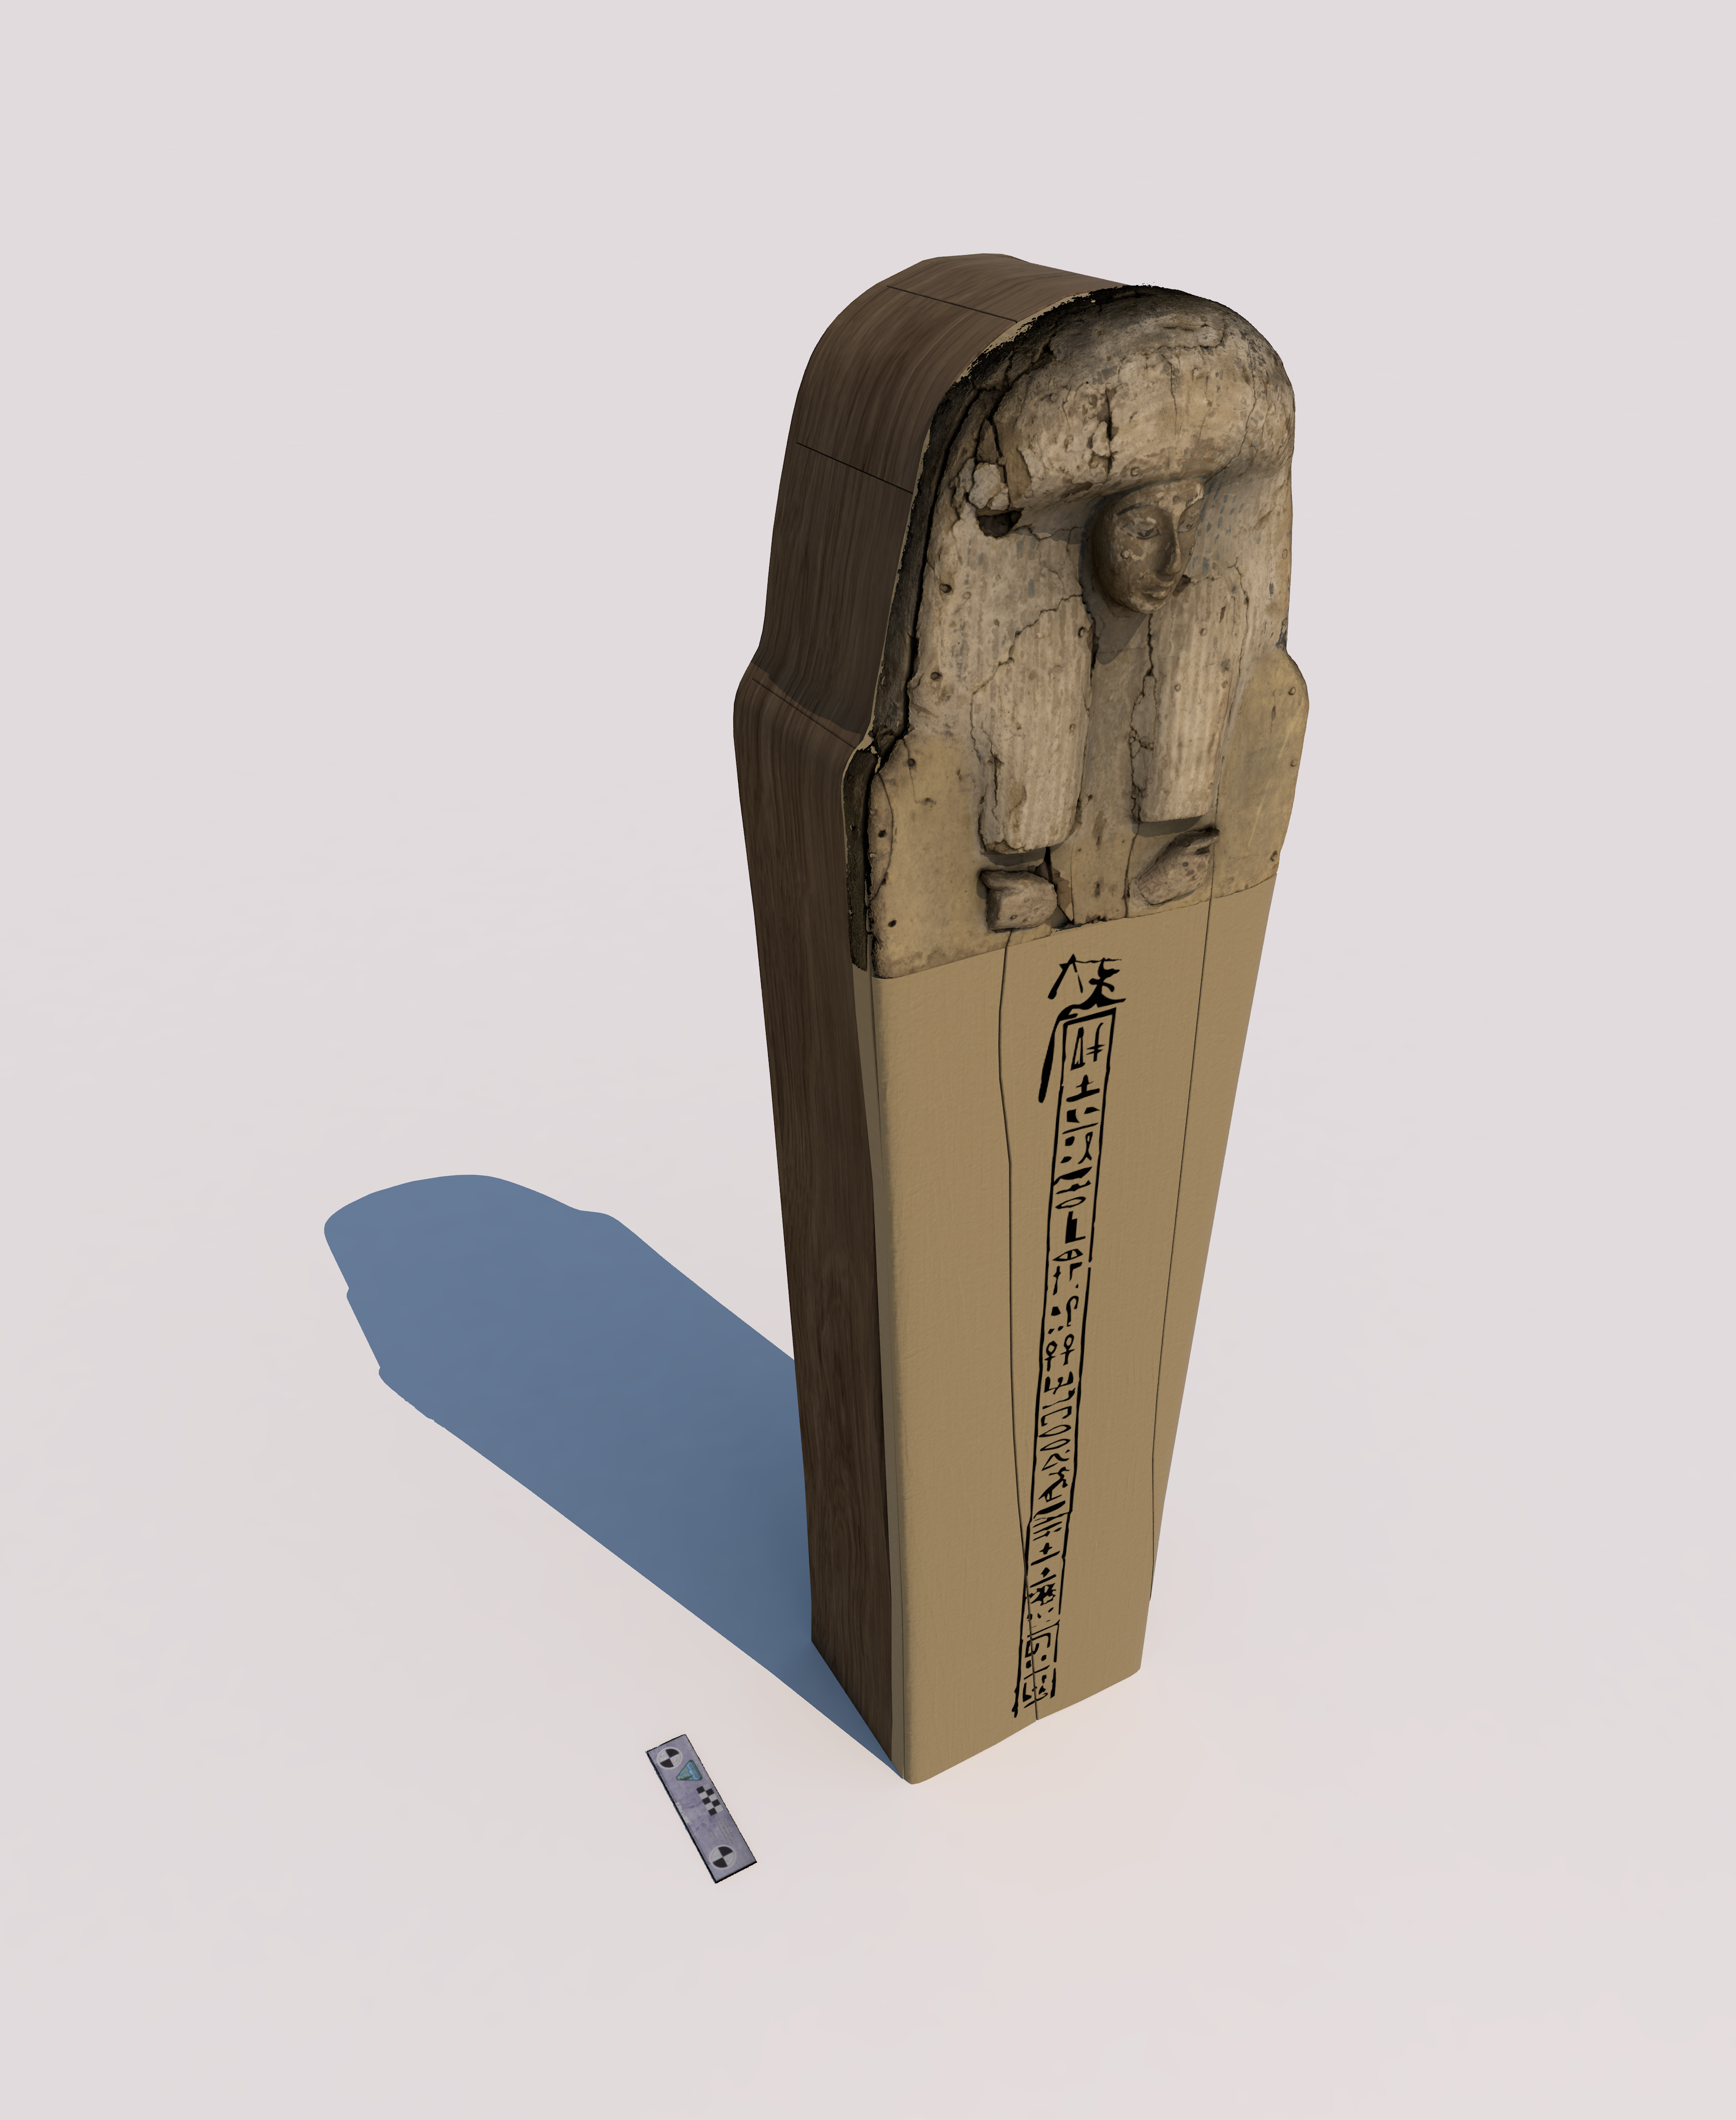
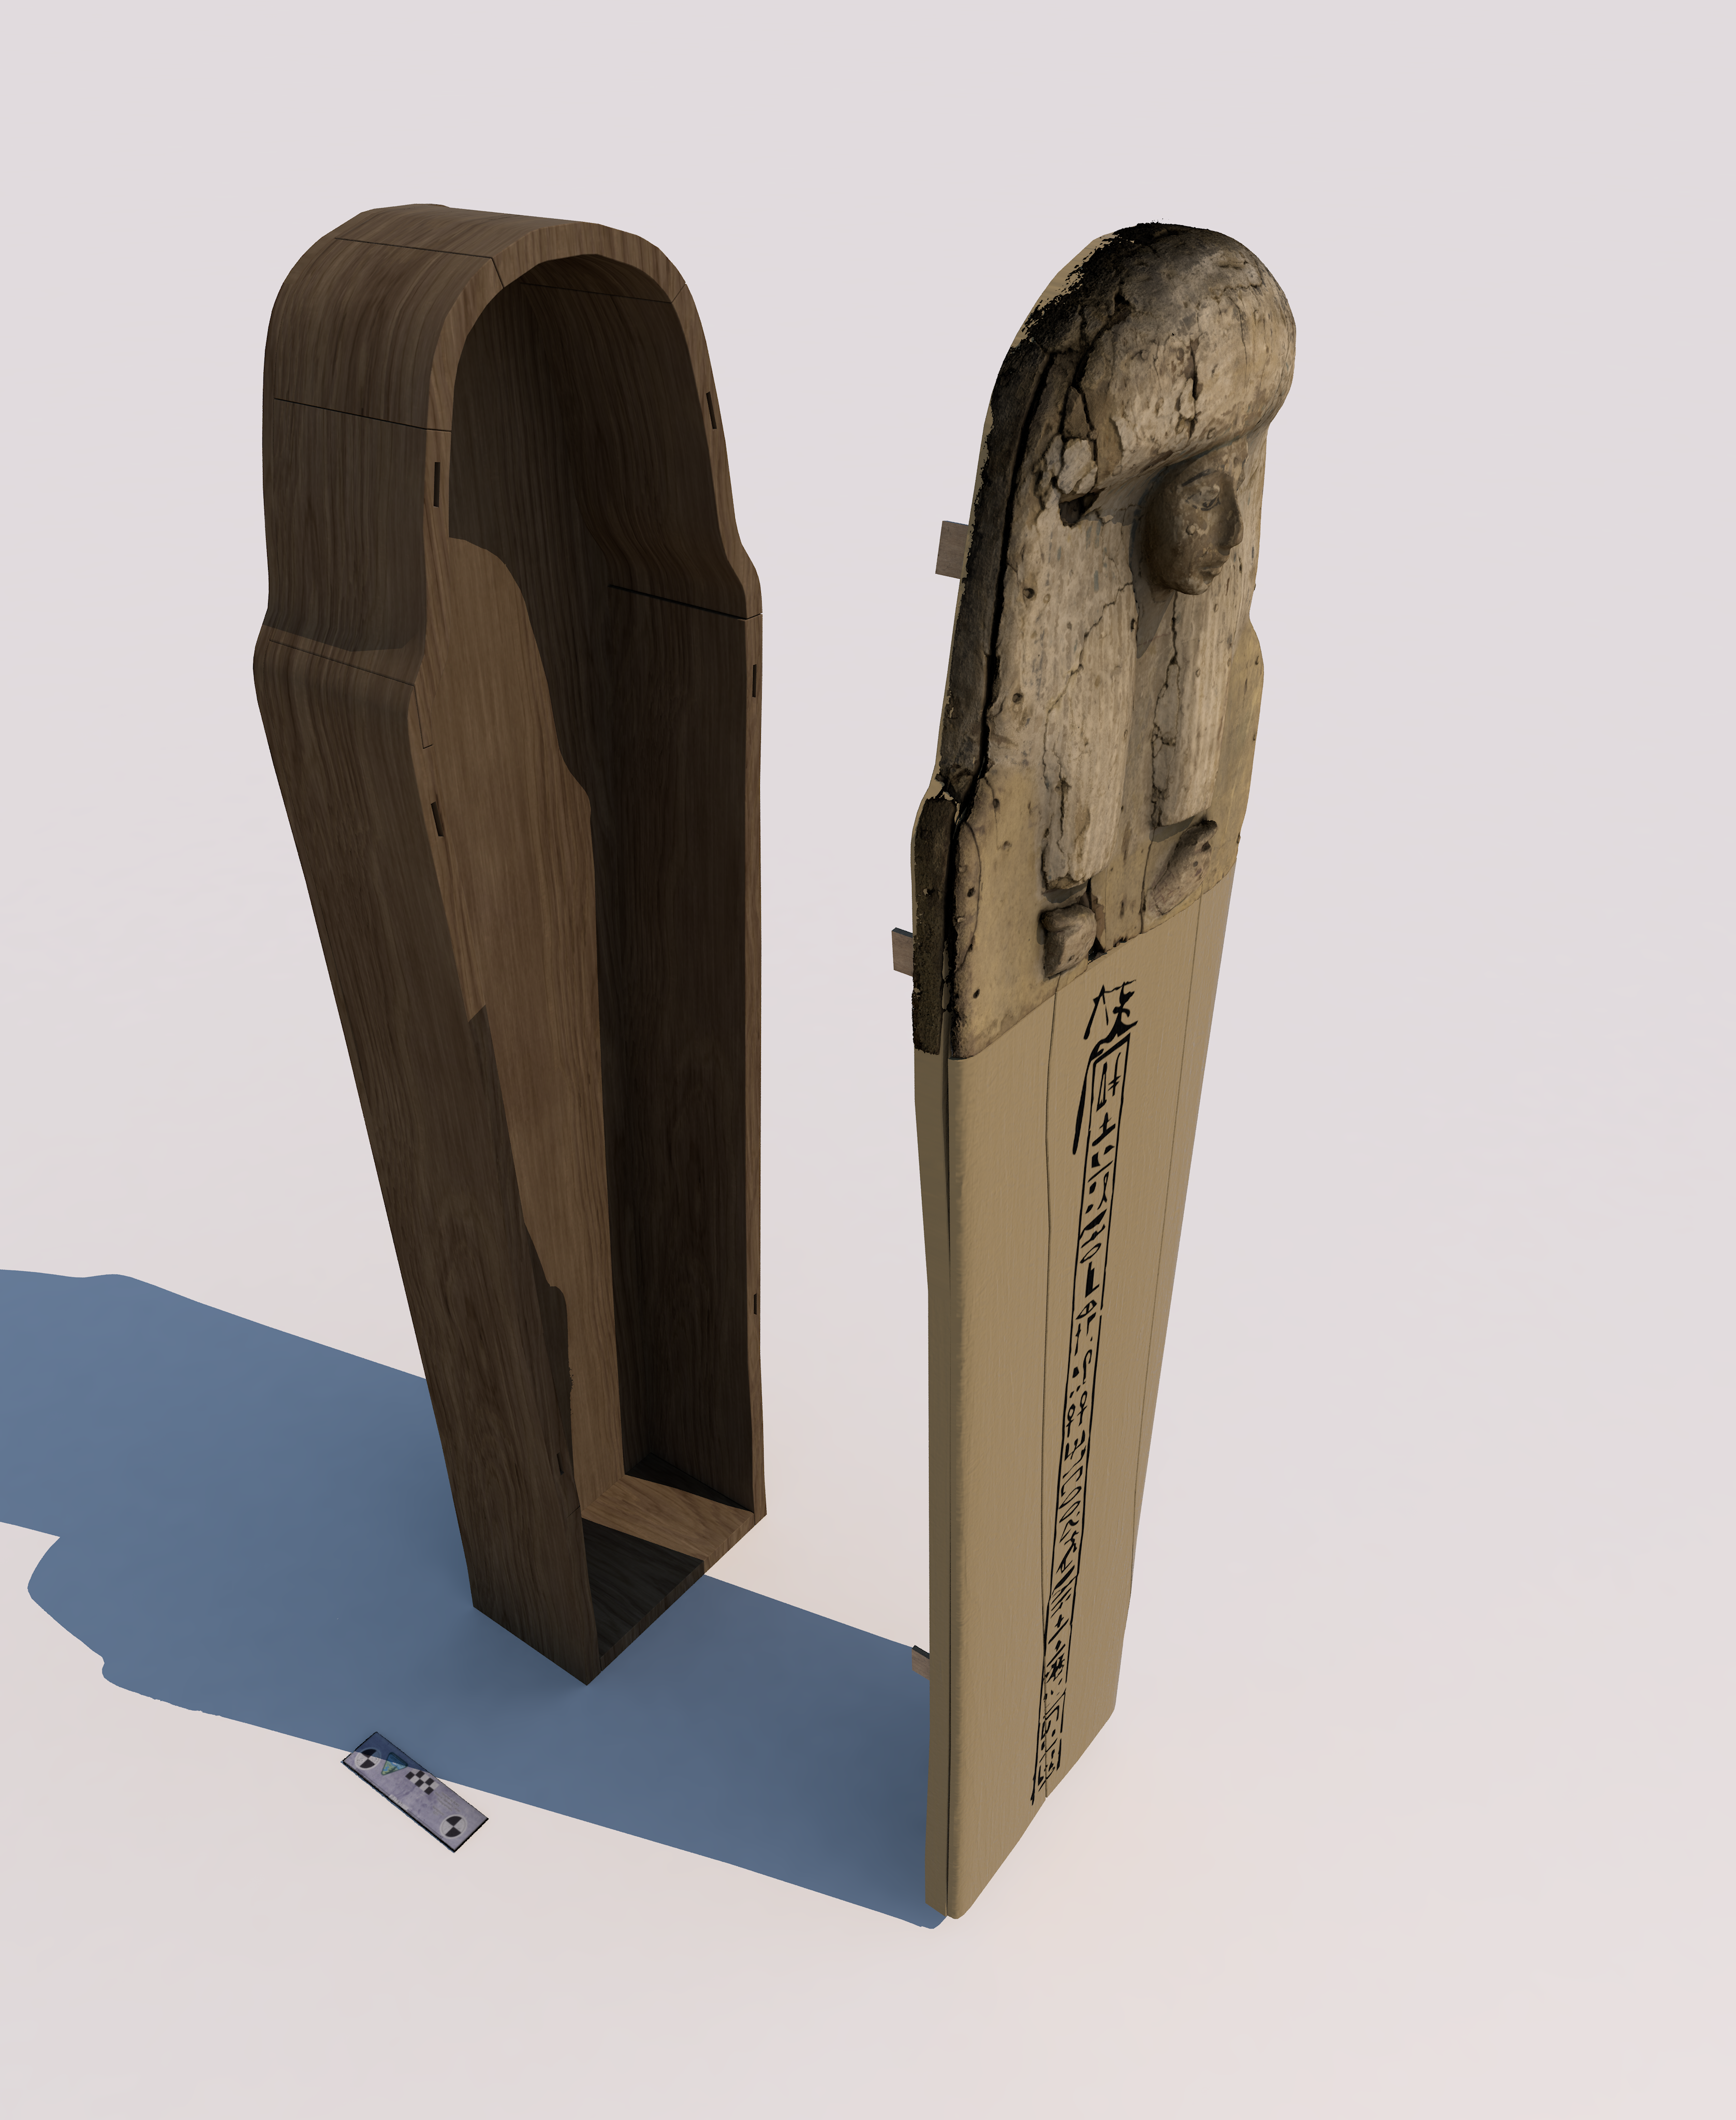
The Institute of Egyptology of the University of Cologne wants to present some of the finds in their collection to a wider audience in an online exhibition. Besides photos and texts, the Institute also wants to present some 3D models and reconstructions, of which you should prepare only one. As the object is very fragile and cannot be accessed easily, the curator of the collection already made photos of the object in question (provided as 120 DNG files, 5,15 GB). Your task is to create a 3D model of the provided photos and reconstruct the missing parts in a second step. The object in question is an Egyptian coffin lid. As the curator is very busy, it is your task to find suitable templates for reconstruction and the necessary literature. You have just a small selection of literature to start you off.
The first Task was to create a digital 3D object from the provided photos via Structure from Motion (SfM).
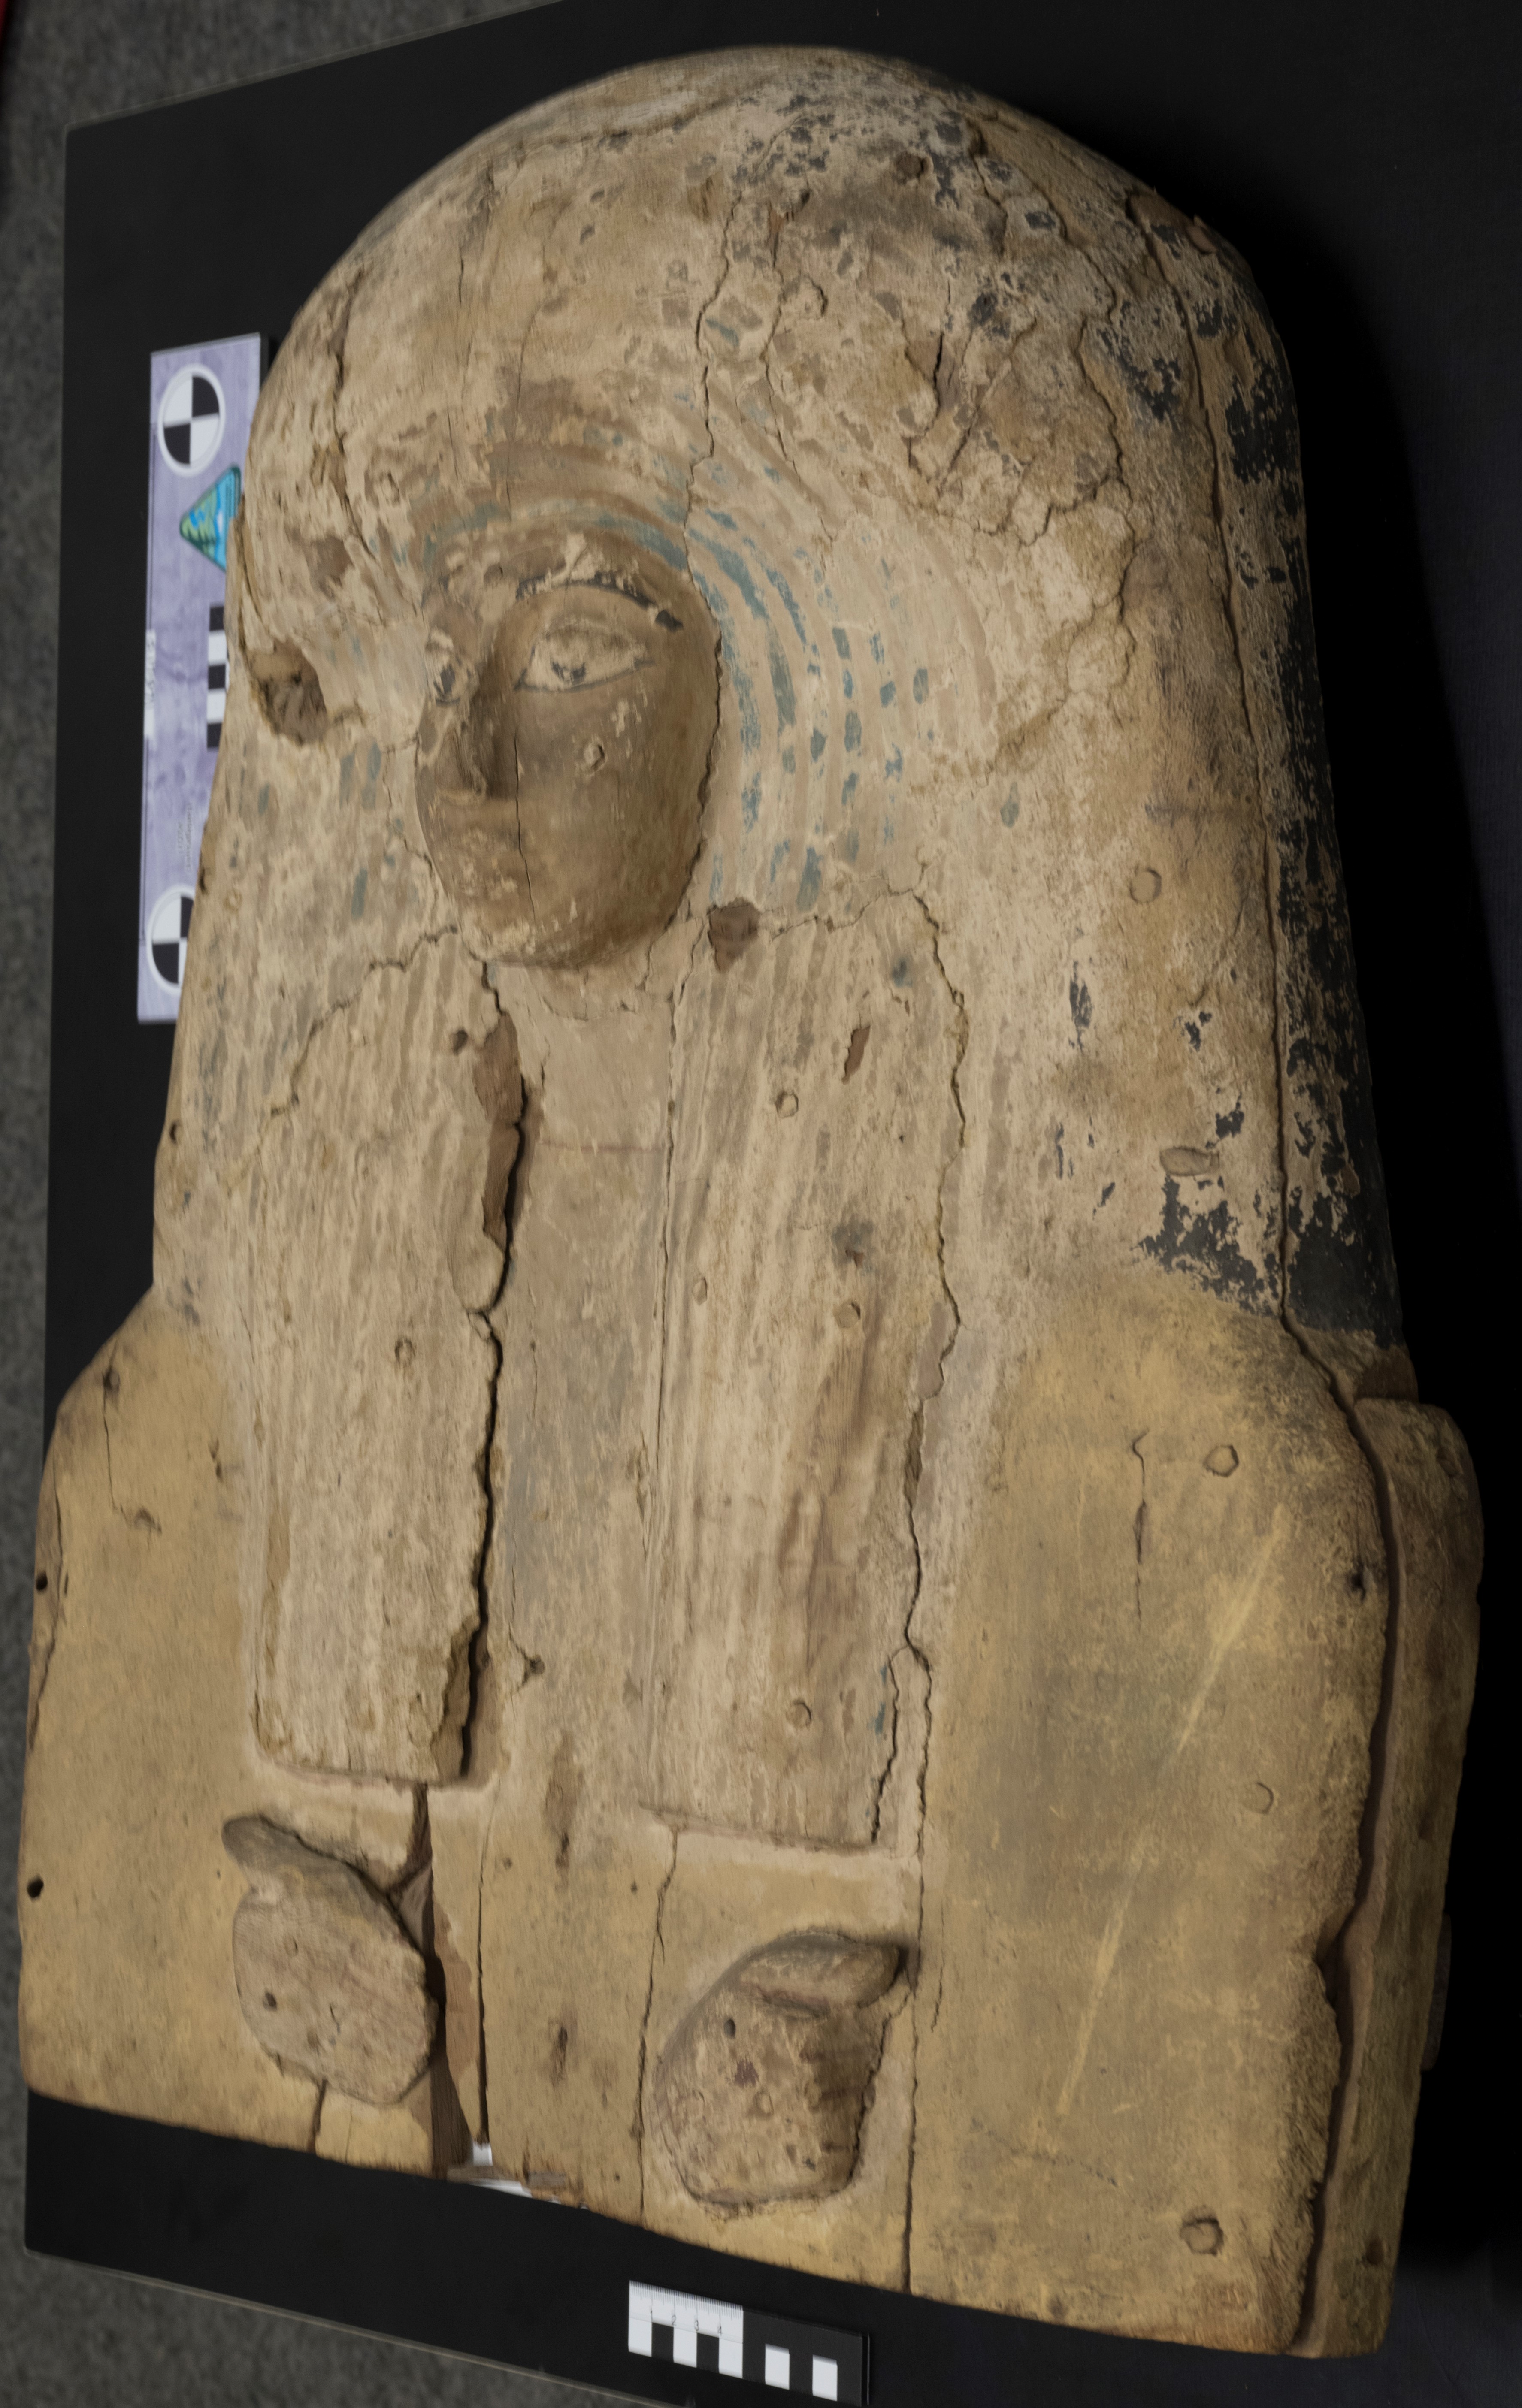
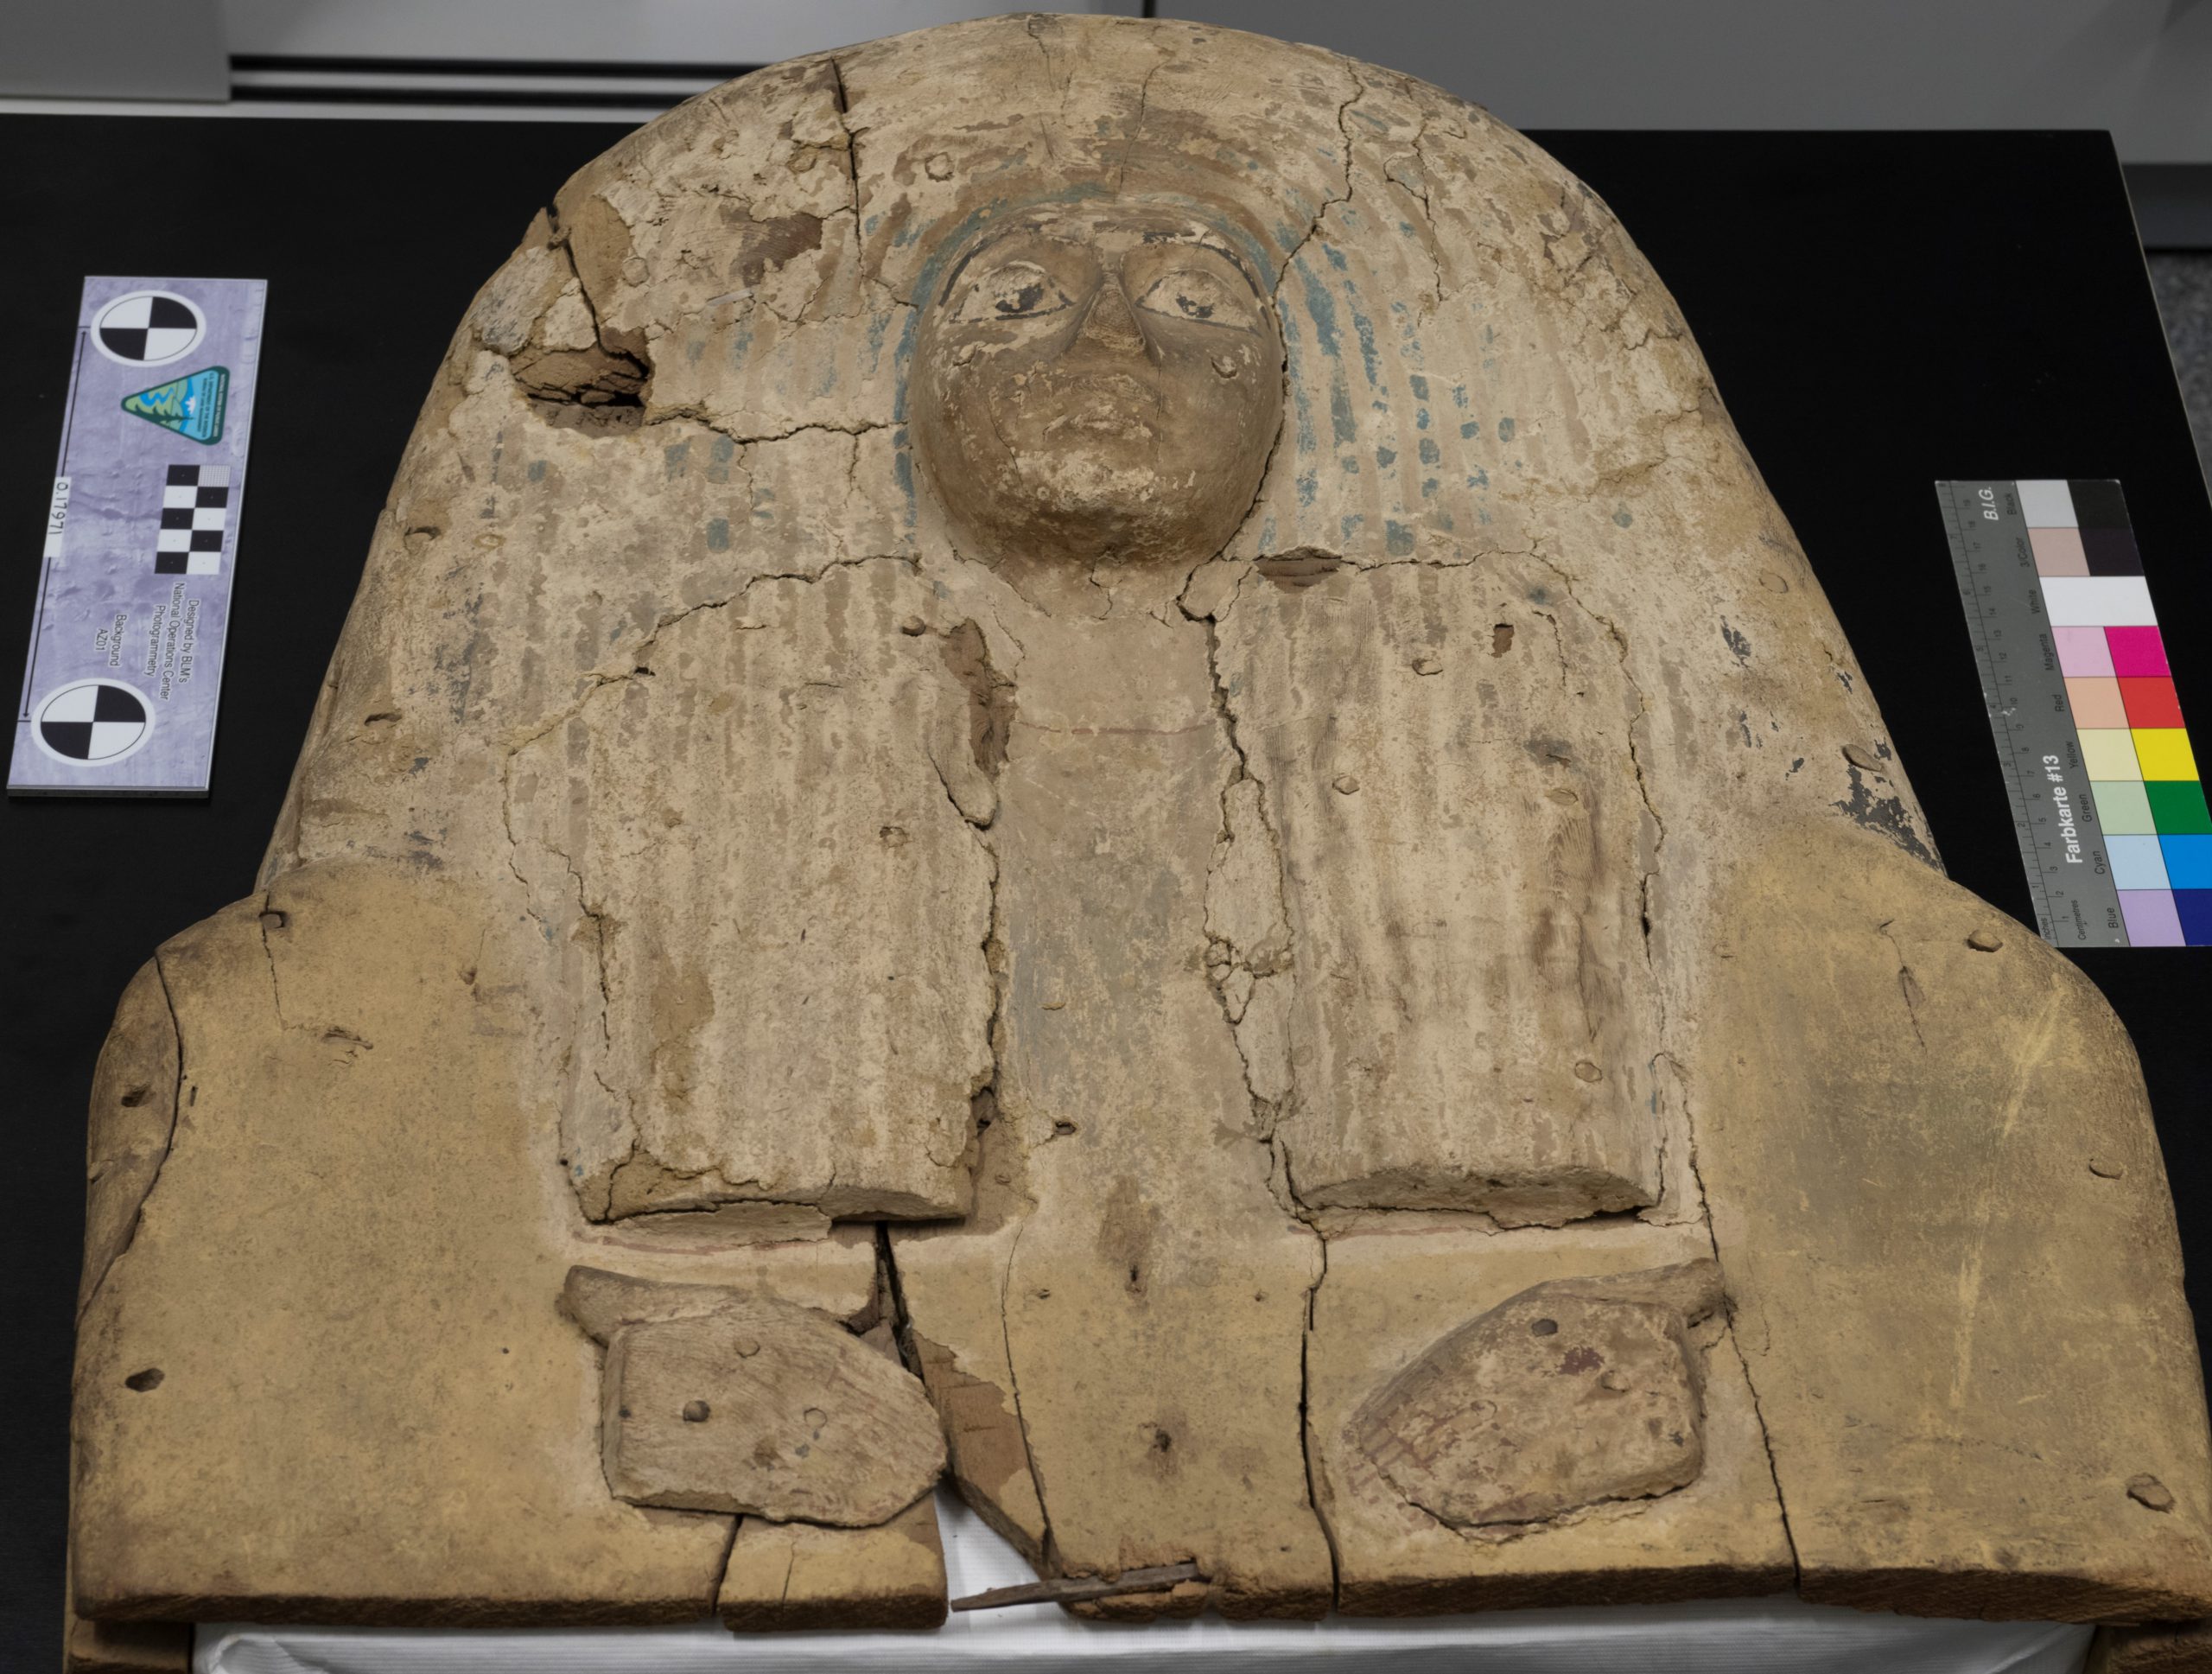
For this task I’ve used the software Agisoft Metashape Professional 1.6.0 (the successor of Photoscan from the same company). After going through the photos by hand to sort out blurred and therefore misleading ones (ca. 7 photos), I’ve opened them via Adobe Bridge in Adobe Camera RAW to colour correct them with the accompanying colour chart on the side of the artefact and also corrected the perspective with the saved lens meta data in the .DNG image-files. With these corrected and as high-quality saved JPG-files, I’ve started the SfM-process in Metashape.
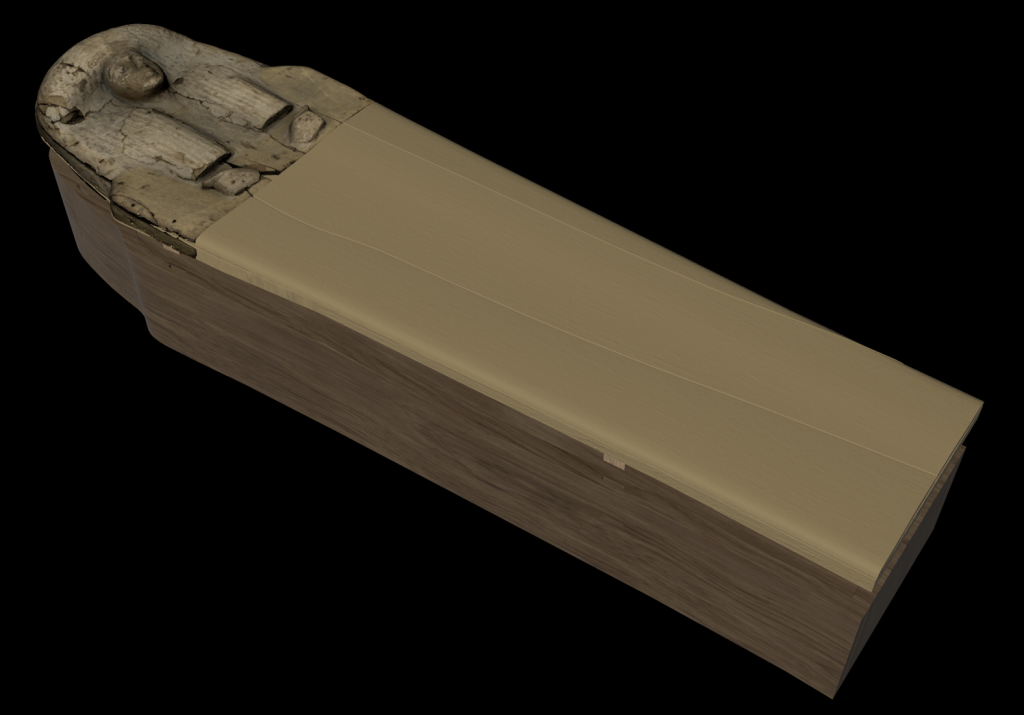
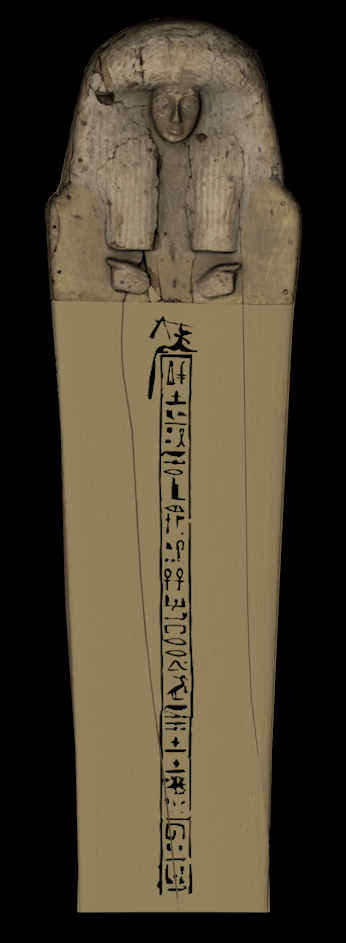
The resulting digital 3D object below was achieved by the following steps with these settings:
1. Align Photos: High Quality instead Highest Quality because the base photos weren’t sharp enough to justify the extra time and hard drive space with the up scaling by the factor 4 of the highest quality. Generic preselection was also used.
2. Cleaning unnecessary points of the background and below the artefact.
3. Build Dense Cloud: High quality (processing of original photo size) because I own a PC with enough power to make this calculation in a sufficient time (but also cost roughly 7 hours). Also, the mild depth filtering mode was used. Note: using Ultra High quality has crashed after 7 hours. Second cleaning of unnecessary points
4. Build Mesh: Arbitrary surface type with the dense point cloud as source for a high-quality mesh. Two different versions: one with interpolation enabled to fill most of the gaps but missing a big hole on the right side (s. below). The other version with interpolation set to Extrapolated to close all gaps. The extrapolated approach gave a very good result and therefore this 3D-object is used further on (s. below). Both versions are generated with high and medium face count. High for the final renderings and medium to work on the reconstruction.
5. Build Texture: Standard settings (Diffuse map, Generic mapping mode, Mosaic blending mode) with a texture size of 8192×8192 pixels. Both advanced settings were set (hole filling and ghosting filter). Additional creation of Ambient Occlusion maps for later renderings.
6. Find Targets (for the scale): the artefact was pictured fitted with calibrated photogrammetric non coded cross-scales from Cultural Heritage Imaging, which centers are 18cm apart, accompanied by another 5cm-rectangle-scale with 1cm resolution. In Metashape you can detect markers on the photos and therefore on the 3D-SfM-Model automatically with these non-coded cross-scales following their guide. After this you can add scales in Metashape and manually add the known distance between the markers. I’ve used lcm, 3cm, and 18cm on all four iterations of the SfM-model, leaving one scale empty to test the accuracy (s. guide above). The scale-error is 0,000018 – 0,000008m (18 – 9μm), so they are pretty accurate.
7. Export. As final step in Metashape I exported the models and textures to long-term storage data formats (COLLADA .dae and Baseline TIFF), following the advice from the IANUS-project of the German Archaeological Institute (DAI) on favoured long-term data storage.
8. Import in Cinema 4D: To align the scans on the X,Y and Z-axes and easier post processing cleaning I’ve imported them into Cinema 4D. Now that the SfM-models are prepared for the reconstruction, I also exported both version to .glb following the recommendations of kompakkt.de for presenting them online easier (kompakkt.de is a file hosting service created by the Department of Digital Humanities at the University of Cologne which also integrate meta data and on-object annotations).

